I make selfmade clay as a result of polymer clay comprises dangerous chemical substances! under is my recipe together with some polymer clay concepts for you to attempt.
When the times are lengthy and chilly, I search for tasks to work on inside the home. I bake, make cleaning soap (in fact!), crochet, learn, or work on different craft tasks. For the previous few weeks, I have been making jewellery with polymer clay.
Whereas working with the clay, I began occupied with all of the chemical substances it ought to include that might be launched throughout firing. in fact i began occupied with how to make my very own selfmade clay. you may discover my recipe under together with some polymer clay concepts to attempt.
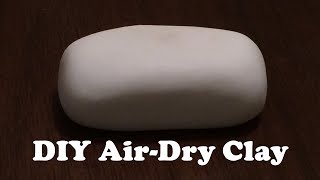
selfmade clay: a straightforward clay recipe
I keep in mind making clay ornaments for Christmas once I was a child. it was a easy recipe, nothing greater than salt, flour and water. it could get very laborious simply by air drying after which we might paint it. right here is the precise recipe:
- 1 cup flour
- 1½ cups salt
- 1 cup of water (give or take just a little)
- 2 cups cornstarch
- 2 cups of baking soda
- 1¼ cups chilly water
- meals coloring if desired
- Mix all of the substances for the selfmade clay in a saucepan and stir whereas heating over medium warmth. it’s going to begin to thicken, like mashed potatoes. take away from warmth and permit to cool.
- when cool sufficient to work with, knead as above. you’ll be able to add a tablespoon of oil (child or mineral oil works) and a teaspoon of liquid vegetable glycerin to make it softer.
- at this level, you’ll be able to take away the items and coloration them with meals coloring (or wait and paint them later within the course of). sporting gloves will shield your arms from meals coloring and also will cut back fingerprints.
- Type selfmade clay items into desired shapes. bake at 250°f for 15-20 minutes. (You’ve to bake this because it will not agency up in addition to salt dough.)
- if you’re going to paint your items, wait till the items are utterly cool to paint.
- Any kind of paint can be utilized to coloration the completed items. ensure to paint after baking, as some oil-based paints will be flammable. Cowl with a sealer similar to varnish or paste wax. polish after wax.
- In the event you get unpleasant fingerprints on the piece, you’ll be able to sand the baked piece down with a nail file. use a light-weight contact after which end with high quality grit sandpaper, similar to a moist/dry kind.
- I’ve made some nice items by including coloured mica or glitter. it simply wants to be labored into the clay earlier than baking.
- You’ll be able to embellish your selfmade clay with chatons or foil-backed rhinestones. place the rhinestone on prime after which push it into the clay. then take out the rhinestone, add some glue and put the rhinestone again within the gap. you’ll be able to bake most stones and they are going to be high quality. crystals and stones don’t soften and barely crack on the low temperatures required for this clay.
- Do not you need to make jewellery? attempt some mushrooms or birds for the flower backyard or embellish a field. add clay to a mint tin to make a one-of-a-kind treasure chest.
Combine the salt and flour collectively in a bowl. add water ¼ cup at a time, mixing effectively. Chances are you’ll not want all of the water or it’s possible you’ll want just a little extra relying on the humidity and temperature within the work space. combine right into a ball, then take away from bowl and knead just a little. It ought to be agency however versatile. You’ll be able to take away items and use meals coloring to coloration them, or you’ll be able to depart it on and paint it later. give it the specified shapes. It’ll shrink just a little, however no more than 10%. You’ll be able to let it air dry, however baking it at 250°F will make it harder. the baking time will depend upon the thickness of the items. for one thing the scale of a ping pong ball, bake for about 20 minutes.
When it is laborious, let it cool utterly. The items can then be painted, varnished, and even waxed to a excessive shine. they need to be stored for years.
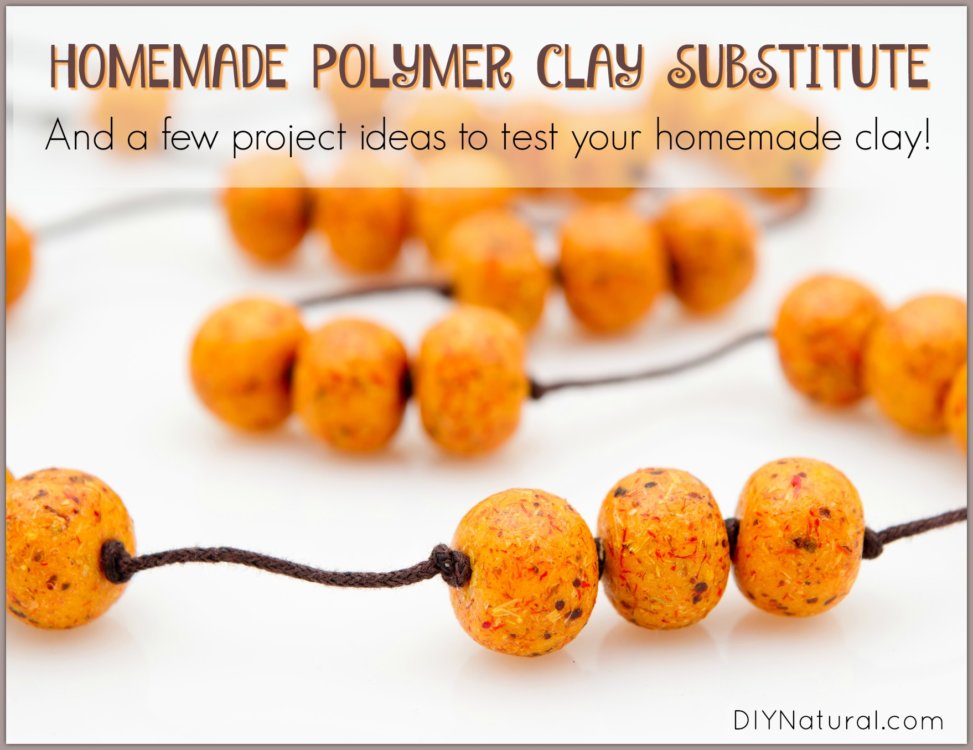
pure polymer clay substitute
This selfmade clay recipe is a little more difficult, makes use of no salt, and produces a finer end.
substances
addresses
This dough and the one above will be made in giant batches forward of time and frozen in a zip-lock bag. Please observe that whenever you take it out, it could develop moisture on the surface and it wants to be dried just a little earlier than you employ it. It’ll most likely be laborious and presumably crumbly, however working and kneading it extra will assist. if it is too sticky, unfold it out on a floured board and blend it with just a little extra flour.
for brief intervals of time, you’ll be able to put it in a zip-top bag and depart it on the counter.
selfmade polymer clay concepts
tip: you can too make selfmade portray for youths!
In the event you like making selfmade clay for jewellery, tell us the way you prefer it!
********